online poker

Omnomicon

say it with me now, “om nom nom”

Subscribe to Omnomicon

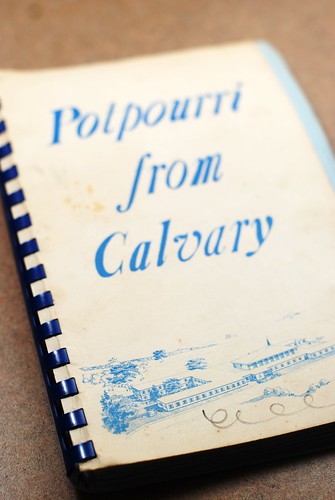
If you’ve been following along, you’re probably aware that I collect cookbooks. Specifically, cookbooks created by New England civic organizations between 1950 and 1980 for fundraising purposes. With yard sale season in full swing, I find myself solvent with new recipe ideas, among them one I found in this vandalized and water-damaged collection.
No date, no address, not sure.
The picture on the cover somewhat suggests the architecture of Calvary Baptist Church in Easthampton, but I bought the book in Millbury and it has no date (I’ve never been to that Church, I just tried to do some due diligence in my googling). Nevertheless, it *does* include a chocolate cake recipe with a secret ingredient: ice cream.

Ice creeeeaaaammmm!!!

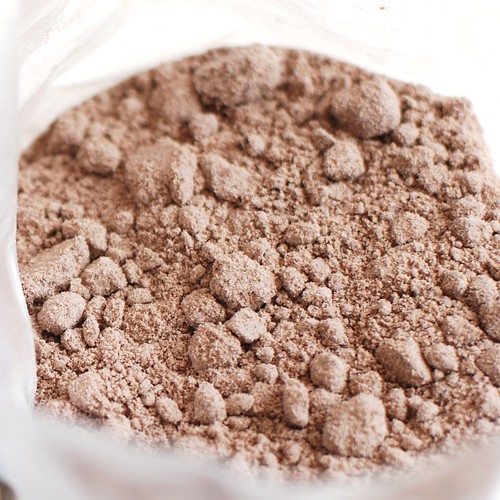
And hey, no cake flour or fancy measuring required, because we’re using cake mix.

The mix.

I let my ice cream soften by scooping it up into small chunks and letting it sit a few minutes. At teaspoon size, your mixer will take care of any further softening required right quick.

Mix together.

The recipe calls for greasing & flouring a tube pan. Since I’m making chocolate cake, I dusted with cocoa powder instead of flour so my cake won’t look dusty. In fact you can do this with any chocolate cake, with the added bonus of a little extra kick of chocolate, and hey, that’s the name of the game, right?

Dusting the tube pan.

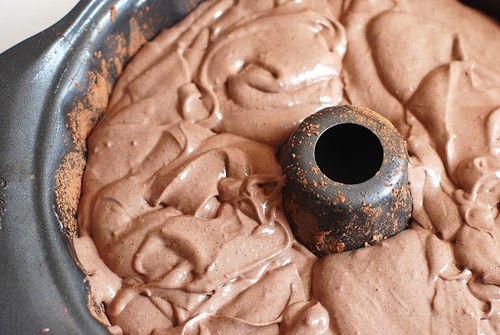
After 4 minutes of beating, the batter kinda just looks like . . . well, melted ice cream.

Whippie.

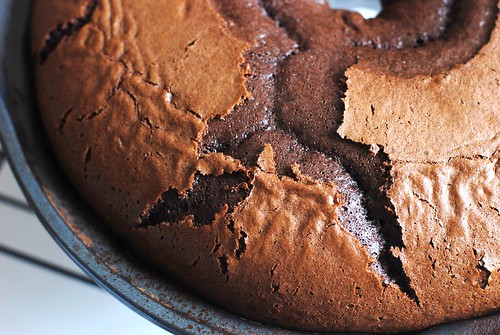
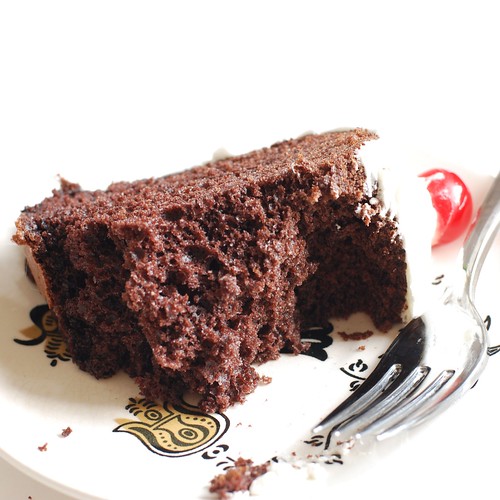
This is one of those situations where a process shot gives a much clearer picture of the character of the dish than the final picture can. Connie Aubuchon, the contributor of this recipe, assures that the cake is “very moist, rich and chocolatey.”

Mmmmmmm.

She was right. This is about as moist as a cake gets without being outright wet, and it even has this spongy noise as you cut into it. In short, it is the most delicious chocolate cake you ever had.

Connie was right.

I wanted to see just how chocolatey I could make this, so I stayed true and made a chocolate cake mix with chocolate ice cream. But I was *thisclose* to trying chocolate cake with mint or ginger ice cream, and other combos that come immediately to mind are vanilla mix with mango ice cream, yellow cake mix with strawberry ice cream, and funfetti with pretty much any ice cream. What combo would you make?


Chocolate Ice Cream Cake (but not like you think)
with thanks to Connie Aubuchon

1 box chocolate cake mix (or any other flavour)
1 pint chocolate ice cream, softened (again, any other flavour)
3 eggs
1 c water

Preheat oven to 350o. Grease a tube or bundt pan, then dust with cocoa powder.

Beat all ingredients together for 4 minutes, pour into pan and bake 45 minutes. Serve with a dusting of confectioner’s sugar, a thin icing, whipped cream or the frosting of your choice.

Done!


approximate nutrition summary (will vary depending on the brands used): 230 calories, 6g fat, 1g fiber; about 5 weight watchers points

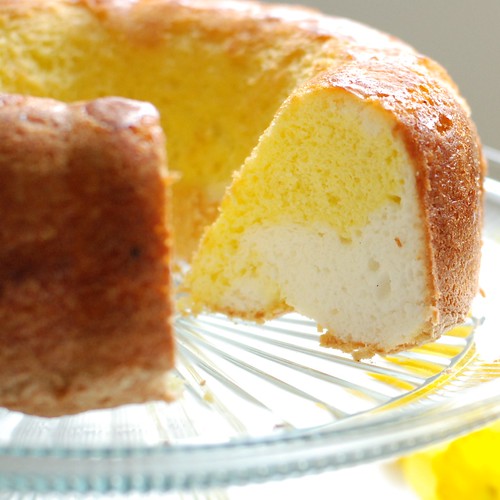
I don’t have much to say about the Daffodil Cake other than it appeared in my What’s Cooking in Massachusetts! 4H cookbook, and a quick Google is telling me that it is an Eastery-Springy-type of cake. So I guess I just missed Easter, which is fine because something in me still resists holiday seasonality. My guess is I still haven’t outgrown that jaded teenager phase, where family stuff is stupid and cheesey.

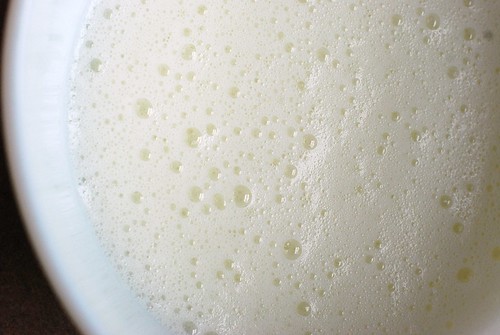
Foamy.

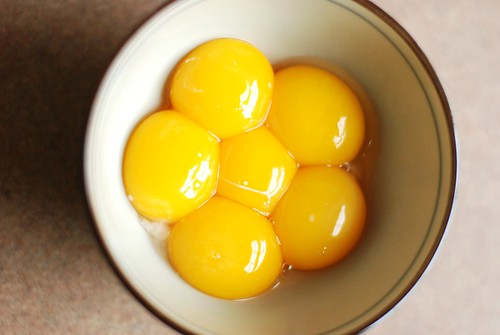
In line with the Spring theme we accidentally have going here, this cake is EXTREMELY light—for cake. It’s similar to an angel food cake, except that you are not left with an inordinate amount of unemployed egg yolks. In this cake, the egg yolks are used to make a second batter, this one all yellow, naturally, and the result is a little two-toned cake that is not as cool a surprise as say, a rainbow cake, but still pretty neat! It can be served in a manner similar to angel food cake, and in that vein would be quite delicious with some strawberries and whipped cream!

Egg yolks that are busily not going to waste.

I made this bad lawrence twice in an attempt to fix major problems from the first go at it. I cite as evidence:

Exhibit 1.

You can see how including that particular photo might counter any culinary abilities y’all might have thought I had. The good news is that I only had to try this one more time to get much more satisfying results, and I identified my major issues here. The first:

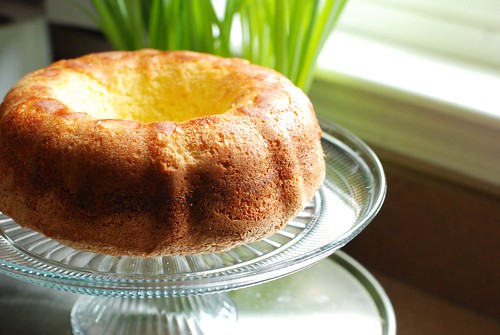
Daffodil cake.

Let me just say up front that is not meant to be a dick joke.

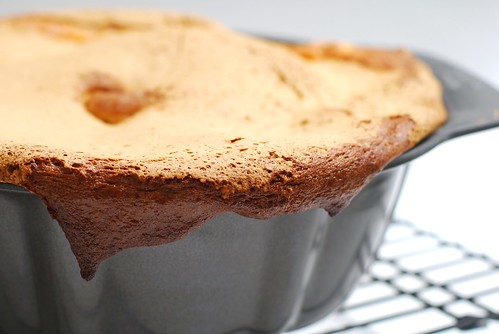
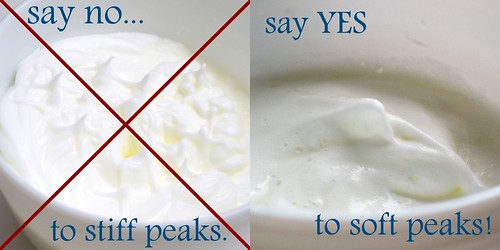
The terminology in the original recipe says “beat until stiff.” Now I’m going to venture that, in this case anyway, stiff does not imply stiff peaks, because the first time around it took me damn near 45 minutes with a handmixer to attain stiff peaks, which even then were passable at best. And then my cake exploded out of my pan and burnt to the bottom of my oven in a smelly mess (see above).

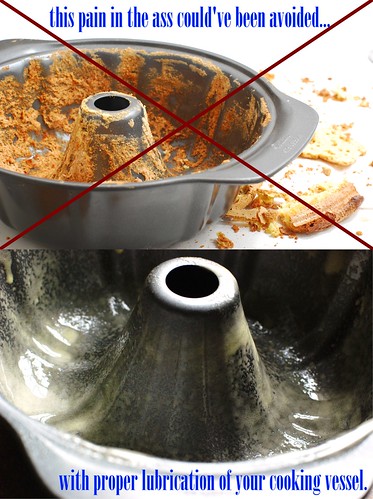
The other big hint that something was wrong was when I tried to remove the cake from the pan and then had to kind of grope it out with my fingers. It was embarrassing.

Mess.

Perhaps in 1962, they had nonstick tube pans they don’t make like they used to, but my nonstick bundt could not handle that baby, and as you can see, this time around I was plenty generous with my cooking spray. That cake might be soggy coming out of the pan, but it’s coming out of that pan on its own, goddammit!

Here’s a rare Omnomicon action shot.

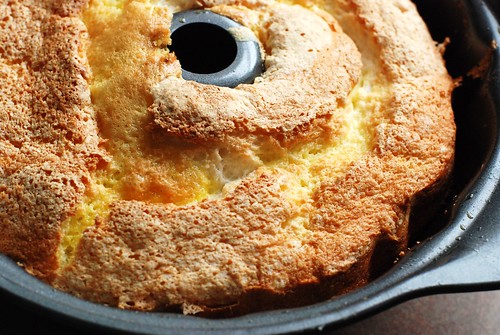
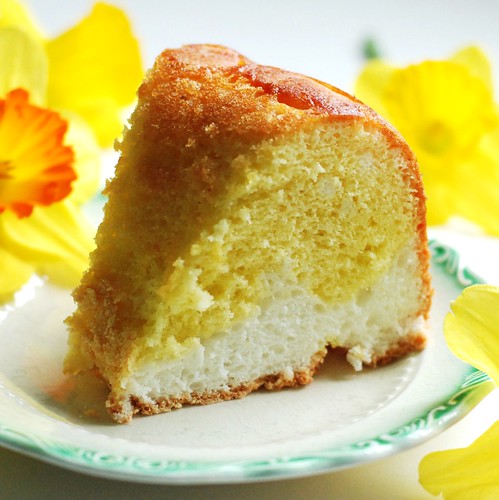
Two tone!

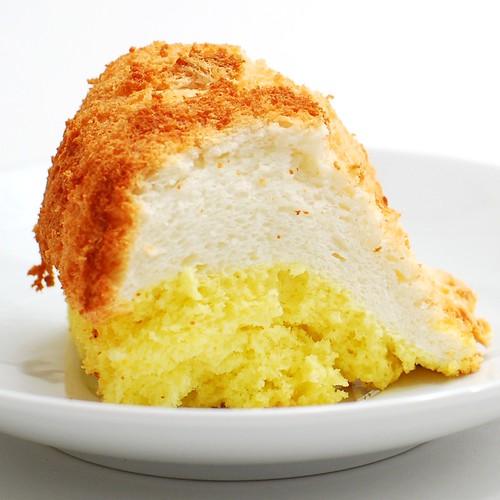
And the bottom was the most delicious part of this. If you aren’t big on presentation, I recommend eating the entire crust off the bottom, because the cake is moist and fluffy and once you flip it onto the bottom and leave it that way for a few hours, the delicious crunchy almost-meringuey texture becomes the texture of just . . . regular cake. Not as magical at all.

Nice bottom.

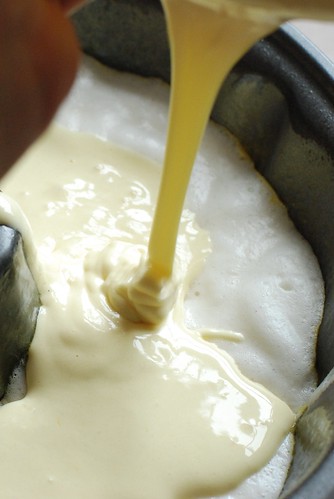
Interestingly, though you pour the yolk mixture on TOP of the whites mixture (which would logically put it on the bottom of the cake once flipped out of the pan), the yolk mix is denser and therefore sinks to the bottom of the pan. In this particular piece, it looks like a funky ying yang.

Cake Shui.

But when I overbeat the white mixture, the yolk stayed right where one would expect it to—to the top of the pan and bottom of the cake. I have to assume this is due to the increased firmness in a longer beat time for the white.

Daffodil cake.

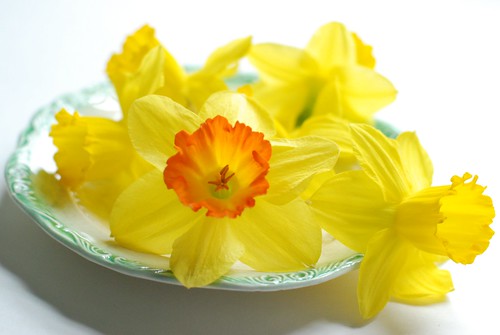
So then I took some literal shots with a daffodil, which really don’t complement the visage of the cake very well, but I bought those flowers and by golly they’re gonna be in my pictures!

Daffodil cake.

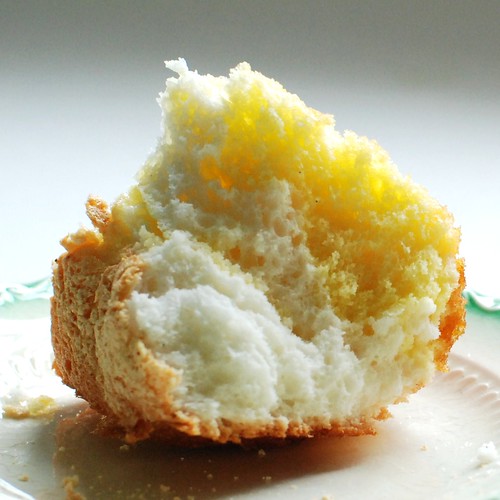
The best way to describe the plush airiness of these, however, is with this shot, wherein I tore a piece of cake in half. Verily, I rent it asunder for the visceral pleasure of it.

Daffodil cake.

And then one more picture of daffodils. Just so I can get my money’s worth.

Just daffodils. No cake.

Daffodil Cake
adapted from a 60s era 4H fundraiser book: What’s Cooking? In Massachusetts

6 egg whites
1/2 tsp cream of tartar
1/2 tsp salt
3/4 c sugar
1/2 c cake flour
1 tsp vanilla

Preheat oven to 325o.Beat egg whites until foamy. Add cream of tartar and salt, and beat until the mixture can hold a little bit of shape, but not until stiff peaks form (it should take you about 5 minutes to reach this consistency with a mixer on medium). Briefly beat in vanilla. Sift sugar and flour four times (seems like overkill to me, but just to be safe I went ahead and did it), then fold into egg white mixture. Pour into well-greased tube or bundt pan and set aside.

Now it’s time for the egg yolks!

6 egg yolks
1 tsp vanilla
1/4 tsp salt
3/4 c sugar
3/4 c cake flour
1 tsp baking powder
1/4 c boiling water

Put about 2 c water on the stove to boil. You’ll want to measure your boiling water after it’s come to a boil instead of before (what with evaporation and what have you). Beat egg yolks 3 minutes, add salt and vanilla, then gradually beat in sugar. Sift the flour and baking powder four times (again, it couldn’t hurt) and add alternately with hot water. Pour atop the white mixture in the pan.

Bake 50 minutes, let cool completely (at least an hour) before removing from pan.

Serve by itself for a cottony delicious treat, or with fruit and the whipped topping of your choice for a more full-blown sort of dessert.

Fun variation:
So some versions of the daffodil cake include a lemon icing, and this one in particular calls for either vanilla or lemon extract in the yellow batter. My awesome idea is to dye the white part with lemon extract and the yellow mixture with vanilla. It will taste the same, and 90% of people won’t notice which is which, but it’ll be really funny for that one person with the particularly sharp tastebuds.

Daffodil cake.

nutrition summary (for 1 of 8 servings): 260 calories, 4g fat, 0g fiber; 5 weight watchers points

Aaannnndddd, she’s back!

So I did mention something about health and/or diet food in my last post, and while this recipe is the latter, it is most certainly not to be confused with the former. I posted about my rainbow cake here, and it got a lot of traffic on over to my livejournal, and everyone wanted the “recipe.” The cool thing is that if you’re making something so distractingly colourful, people will think it’s delicious no matter what.

This presents me with the option to use an old Weight Watchers trick—the one-point cupcake. Except I’m making a cake and I created my own frosting. Kinda. I’ve seen it done before, but I swear I made it up first!

This cake is suitable for many occasions:

  • A child’s birthday
  • Your mom’s birthday
  • Coming out to your conservative parents
    • If you’re a lesbian, they’ll be thrilled that you won’t be forgoing your feminine kitchen duties.
    • If you’re the kind of gay dude who makes cakes for your parents, they were probably on to you anyway.
  • Coming out to your conservative parents on your mother’s birthday
  • Your friend’s jam band CD release party

. . . so I’m sure you’ll find a use for this recipe soon.

And of course, you can use any white cake recipe you’d like. This is just how I make it because I have delusions of wearing size 2 someday.

Oh yes, and do me a favour: DOUBLE THE RECIPE AS PHOTOGRAPHED HERE!! The recipe at the bottom is accurate, but this made for a really REALLY small cake, and there was not nearly enough frosting, especially considering its lightness.

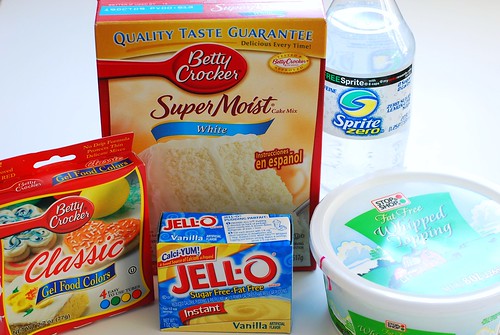
Okay, on with the ingredients.

how to: rainbow cake!

That’s all. Notice the lack of fat in here? Mmmmmm . . . chemicals. Though I don’t need to defend my method thanks to the double-dub (WW) aspect, even when I make a “real” cake I usually use box mix because let’s face it: Betty’s been doing it way longer than I have, and has pretty much perfected the art.

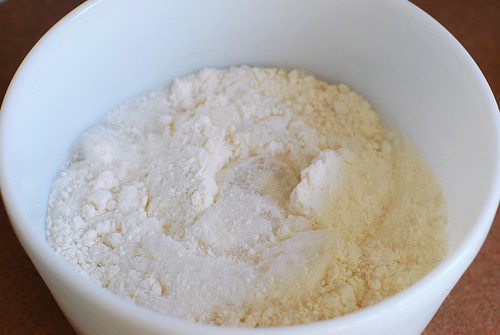
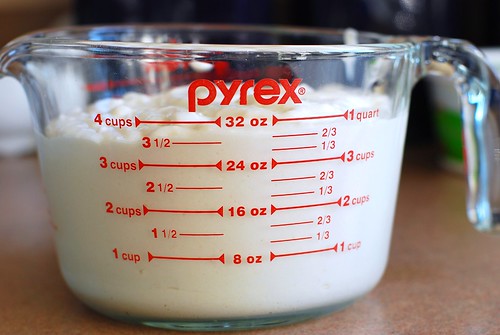
Pour a can of soda (12 oz) 2-12 oz cans of soda into the cake mix two boxes of cake mix. No eggs, no oil, no water, no sweat.

how to: rainbow cake!

The action shots weren’t too thrilling. Now we measure it.

how to: rainbow cake!

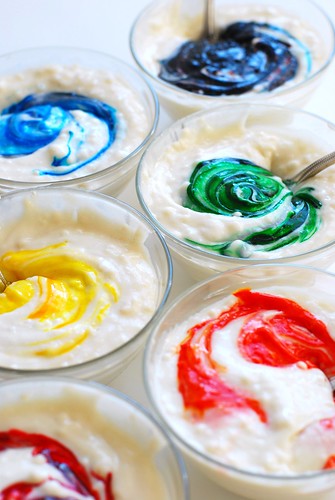
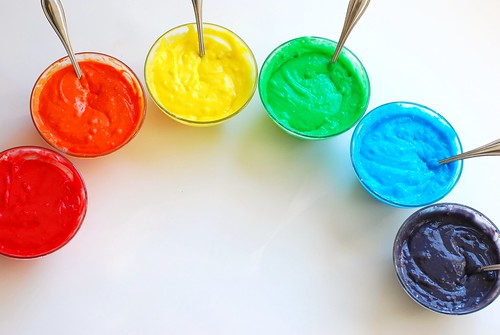
I’m going to round to 30 oz 60 oz because I have six colours and isn’t that just too convenient? It worked out to 3/4 c 1.5 c per colour, measurementwise. So I divvied that up and used my gel colours.

how to: rainbow cake!

(the gel colours, while not as good as pigment dye, are much bolder than the very liquidy food colouring you probably grew up with)

how to: rainbow cake!

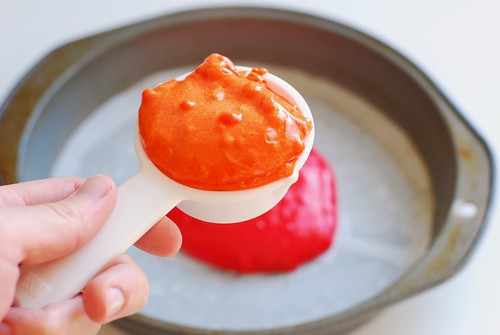
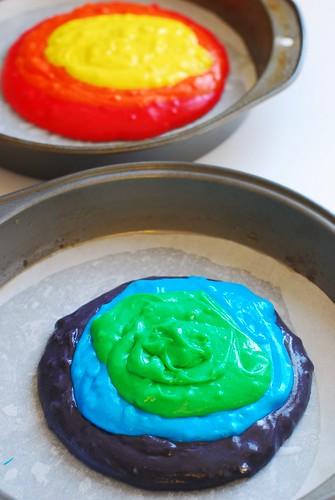
The first colour you drop into the pan, use about 2/3 of the mix for that colour. Otherwise, the top (last) colour will really dominate. I used a heaping 1/4 c 1 cup of each colour.

how to: rainbow cake!

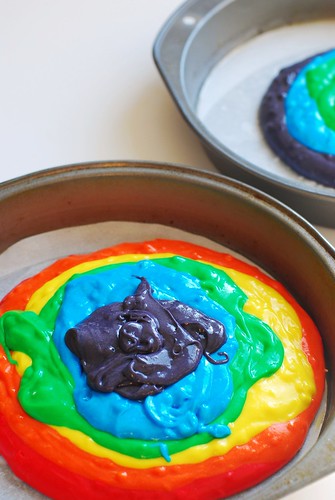
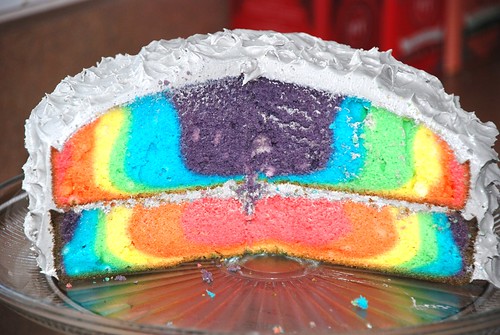
Drop the colours, one by one, into the middle of the pan, in neat concentric-ish gobs. Remember the cake is going to be sliced in the side there, so mixing it around on top isn’t going to make your slices any more psychedelic (trust me, I did the three-dimensional thinking for you already).

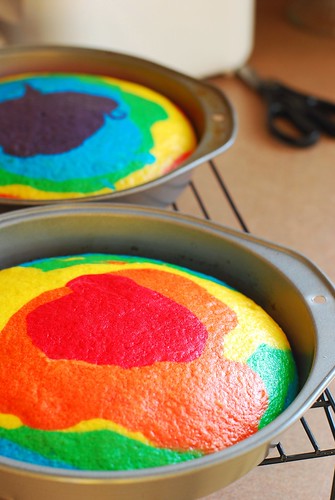
When you’re three colours in, start doing the reverse with the other pan. Since I’m going in rainbow order: red, orange, yellow, green, blue, purple, I got from red to yellow in the first pan, then purple, blue, green in the second. This is so that your two pans are equal if your measurements aren’t exact (and they’re not likely to be).

how to: rainbow cake!

Now finish up.

how to: rainbow cake!

Follow the box’s baking instructions and do your dishes.

how to: rainbow cake!

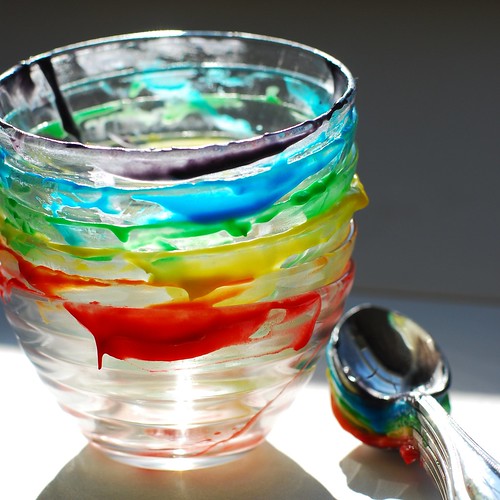
Such lovely dishes!

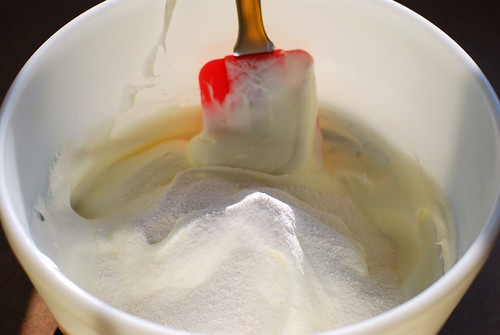
Now for the frosting: 1 box 2 boxes of fat free sugar free pudding mix, and 8 oz 16 oz (two of the 8 oz tubs pictured) of fat-free whipped topping. Or sugar-free. Or light. Or regular. They’re all pretty much the same. But that’s it.

how to: rainbow cake!

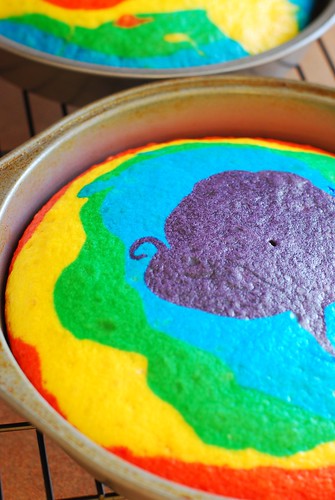
Holy shit, the cake’s done! Toothpick clean and everything! Get that shit out of the oven!!!

how to: rainbow cake!

The purple top kind of made a little turkey silhouette.

how to: rainbow cake!

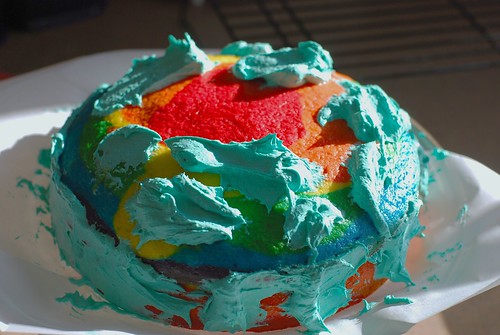
The frosting will be a little tough to spread, so treat it like a buttercream (I guess, I’ve never frosted a cake with buttercream). Putting gobs all over, then smoothing in worked well for me.

how to: rainbow cake!

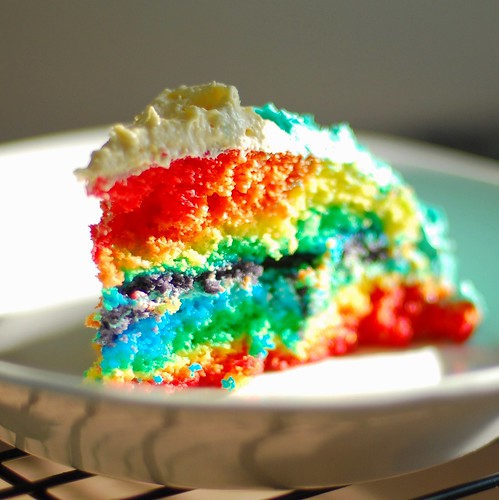
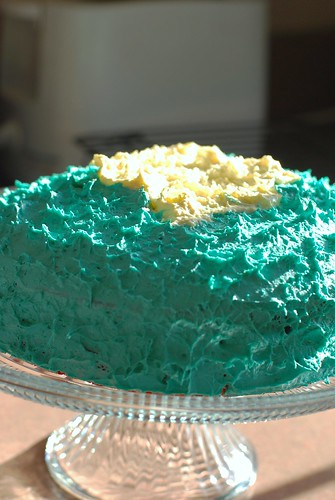
And look at that thing! It’s so pretty-lookin.

how to: rainbow cake!

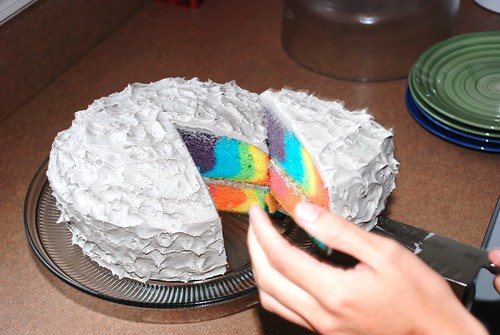
Here’s what this particular cake looked like. See how it’s tiny and too rounded and it kind of isn’t all that great? That’s because I didn’t double the recipe. It’s a mistake I’ll only make once.

how to: rainbow cake!

Here’s what that really should look like: same process, twice the batter.

DSC_0598

Mmmmm.

Sunny Day Rainbow Cake

2 boxes white cake mix
24 oz of clear diet soda (2 cans, ginger ale and sprite work well)
gel food colouring
16 oz whipped topping
2 oz instant fat-free sugar-free pudding mix (2 smallish boxes)

The Dieting
Mix the cake mix with the soda according to regular instructions on box. It will be lumpy afterward. Again, you can use any white cake recipe you want, this is just how I do it.

The Rainbowing
Measure the total volume (by my estimate, 64 oz), then divide by 6 and measure into separate bowls. There are 8 oz in a cup, so 64/6 = 10 to 11 oz, or 1 cup + 2 tbsp.

Stir colour into each bowl with its own spoon. For the first colour into the pan, measure out 2/3 to 3/4 of your mix (in this case about 1 c) as close to the middle as you can. Drop in your first three colours, then work on the other pan with the last three colours. So if you’re doing rainbow order, the first pan should have red, then orange, then yellow, and now the purple, blue and green go into the second pan. As a recap, this is so both layers are roughly the same size.

Bake the cake for however long the box tells you to bake it. Check it when the box says to, but usually it’ll need an extra 5 or 10 minutes or maybe more because of the density of the soda method. Just keep baking, checking back every 5 minutes or so until a toothpick to the center comes out clean. Let cool completely before moving to a wire rack.

The Frostinging
Meanwhile, make your frosting. Just mix the pudding mix in with the whipped topping for a few minutes. Dye if you’re into that.

Frost your fat-free cake with your fat-free whipped frosting. Eat.

Edit 1 (one week later)


No children were harmed in the making nor consumption of this cake.

People seemed to miss the point that I am a 25-year-old woman on a diet with no kids. Since kids don’t really need fat-free anything, there’s no need to use the soda recipe if you don’t like the idea, and if you don’t like dye, don’t make this for dinner for them every night for a month. Okay, folks, thanks for the allowance to disclaim.

Edit 2 (two weeks later)


A note to Weight Watchers (the people on the diet, not the company):
WW has long advertised 1/12 of a cake mix with diet soda to be a “one point cupcake.” I have no idea why they insist this is the case when according to the “as packaged” nutrition information, this much cupcake has 170 calories, 3g fat and no fiber . . . by my calculation, that’s 4 points. That said, 1/12 of this recipe, (2 box mixes + 16 oz whipped topping + 2 oz or so pudding mix) works out to 10 points a slice. Not bad considering that a comparable cake would be 14 points.

Edit 3 (two months later)


FAQ
Here are questions I get over and over again about this cake. I just don’t want to answer any more emails about it. These questions apply to any cake, so please don’t blame your epic fail on me.

Omg my cake burnt!
Next time don’t bake it for as long.

My cake stuck to the pan!
Grease your pan better next time.

My cake burnt/stuck to the pan/was underdone/crumbled. Is this because of the food colouring I used?
No, the food colouring has nothing to do with the failure of your cake. You baked it too long/didn’t grease enough/didn’t bake long enough/moved it before it was cool.

I’m making this for my kids, can I use non-diet soda for this cake?
I don’t know why you would, you certainly wouldn’t be saving much in the way of calories, and I don’t really think your kids need more sugar. Just make a regular cake and then put food colouring in it, it will look the same, promise.

If I don’t make it with soda, will the colours run?
No. In fact, like I keep saying, please just use whatever the hell cake recipe you like. Please. The rainbow part has nothing to do with Weight Watchers.

The frosting, it’s so thick!
Yes, buy a tub of Duncan Hines frosting as a backup plan.

The cake, it fell apart!
Let it cool before you move it, and more importantly, don’t jostle the thing about.

I don’t like the cake this made, blech!
You probably aren’t on a diet, so I don’t know why you bothered to make diet cake.

I don’t get it, you make two cakes and then you put them on top of each other?!
Yes, it’s called a layer cake, and pretty much any cake you buy at a grocery store is constructed in the same manner.

But I don’t *like* food colouring.
Well, you’re wasting your time reading this, aren’t you?

I totally saw this on Something Awful’s Goons with Spoons Rainbow Cake thread, way to steal the idea, asshole.
Me too, fellow goon, me too. And in fact, I posted my original rainbow cake there. If you have no idea what I’m talking about and would like to see about a hojillion rainbow cakes, and a rainbow cheesecake, please check out the thread that put this on my radar.

DSC_0603

9/26/2014
closing comments because way more spam bots are hanging around than humans, and after at least 2000 actual people comments, there probably isn’t much left to say. however, my email address remains active, so if you wanna be social, send it that way.

thanks, internet, this was fun.